This guide is for companies with one location that do not have SDS files to import. You build your library from our database instead.
- Add SDSs from our database of 30 million+ Safety Data Sheets
- Give your employees access with QR code posters
- Invite the people who will manage your SDS library
- Check your SDSs for restricted chemicals
- Print secondary container labels
- Print SDS binders if you want paper copies (optional)
- Keep your SDS library up to date with new revisions
Step 1: Add SDSs from our database of 30 million+ Safety Data Sheets
On the Dashboard, type a product name, supplier, CAS#, UFI# or EU number in Search SDS Database, pick the right SDS and it is added to your library. The other tabs let you scan barcodes, scan a paper binder, import a product list or take pictures of product labels.

Read more: How to add Safety Data Sheets to your SDS library
Step 2: Give your employees access with QR code posters
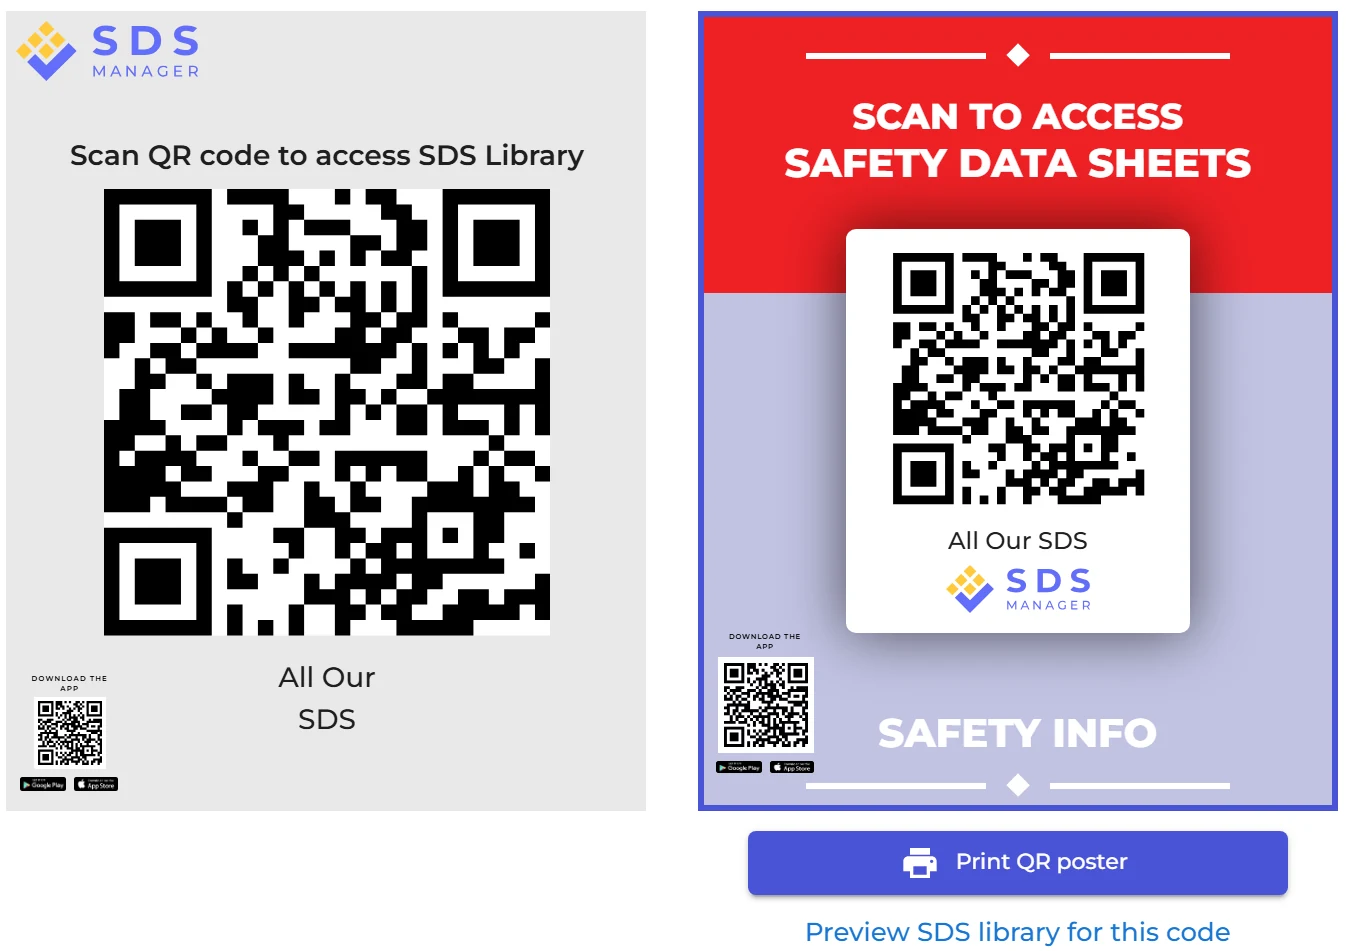
Employees do not need a user account. Put a QR code poster where chemicals are used: scanning it with any phone opens your SDS library read-only. Click QR Access in the left menu, click a poster, then Print QR poster. Preview SDS library for this code shows what your employees will see.
Read more: How employees find an SDS and How can our employees access our SDS library by scanning a QR code poster?
Step 3: Invite the people who will manage your SDS library
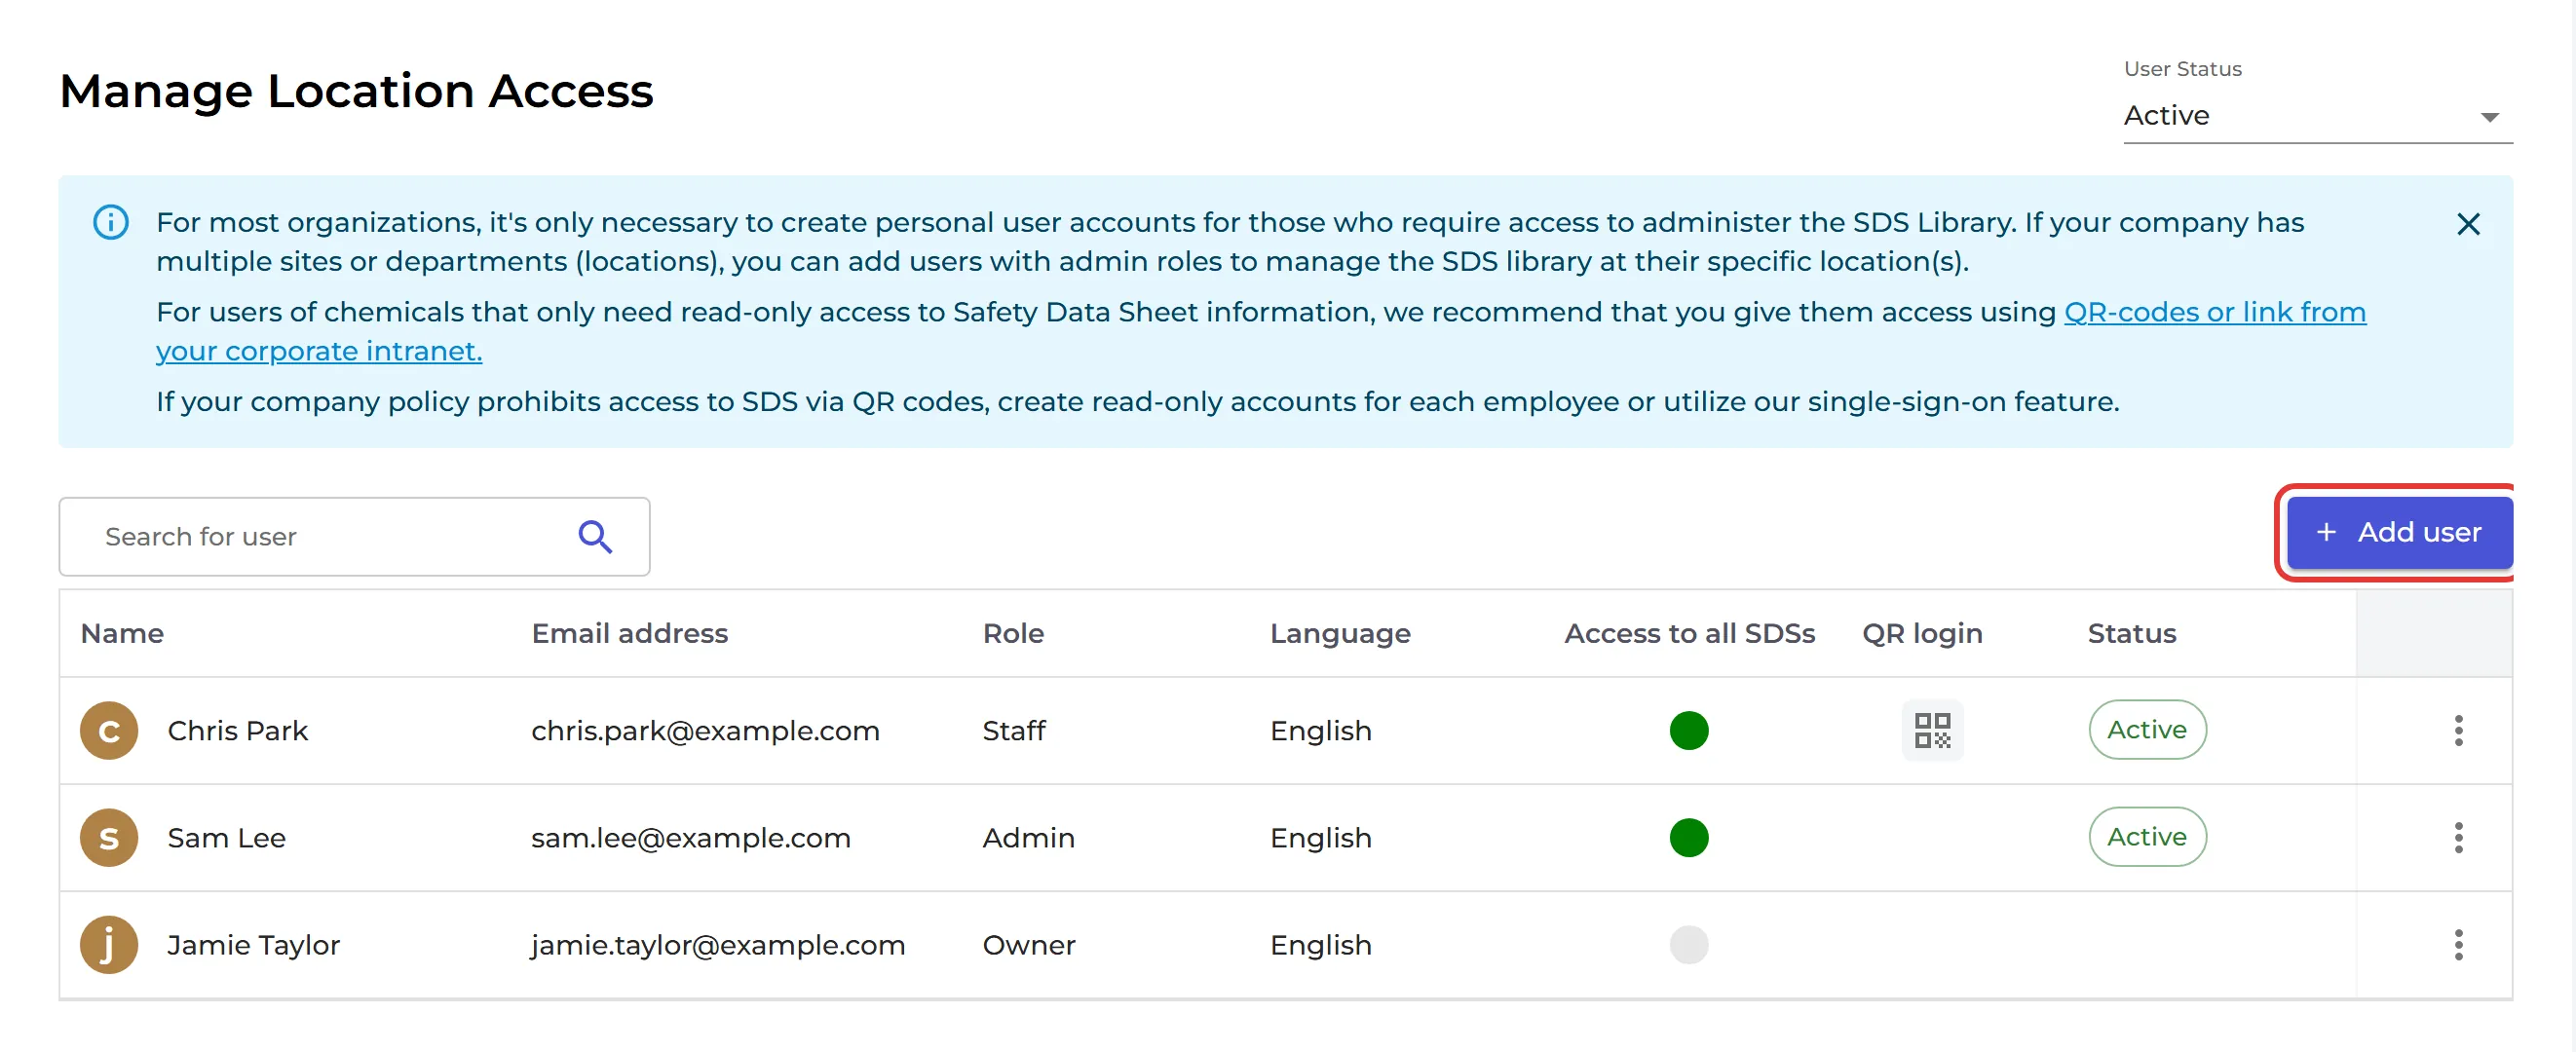
Create user accounts only for the people who add and maintain SDSs; most employees just need the QR code. Click More → User management → Add user. Enter the name and email, choose a role (for example Admin for people who maintain SDSs, Staff for people who only look them up) and click Send invitation.
Read more: How do I invite/add new users to SDS Manager?
Step 4: Check your SDSs for restricted chemicals
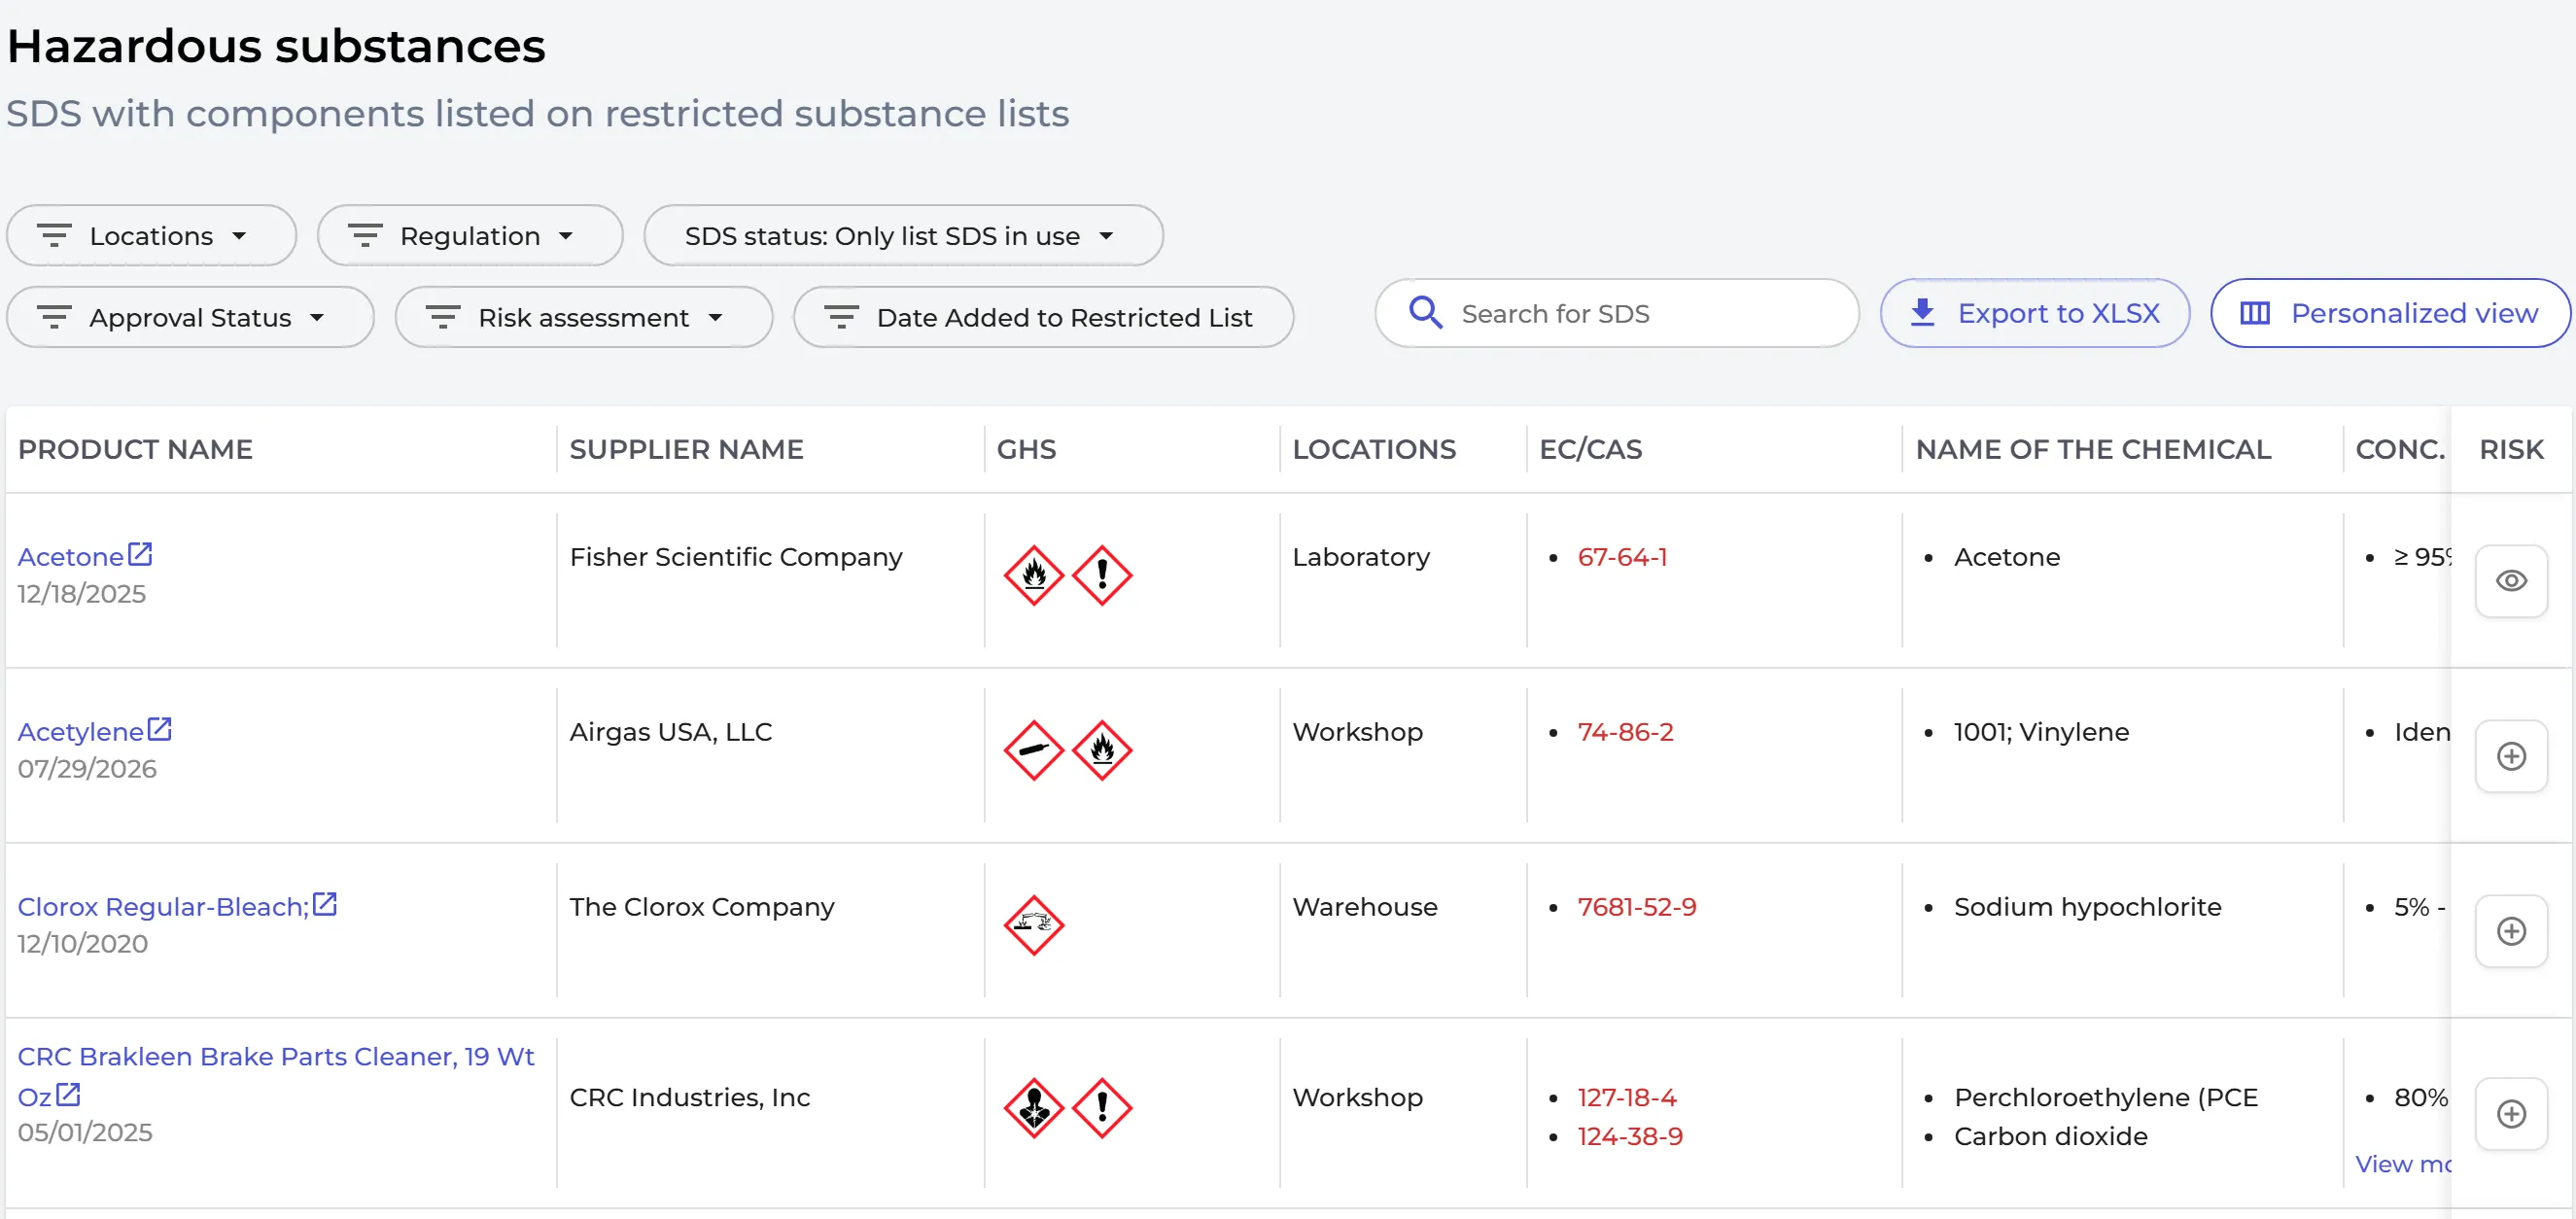
SDS Manager reads the CAS and EC numbers in section 3 of your SDSs and checks them against more than 100 restricted substance lists, for example California Proposition 65, the REACH Candidate List (SVHC) and the OSHA list of highly hazardous chemicals. Click Compliance in the left menu to see the SDSs that contain a listed substance, and substitute the products where needed. Filter by Regulation or location, or export the list to Excel.
Read more: How can I check if any of the products we use contains restricted chemicals?
Step 5: Print secondary container labels
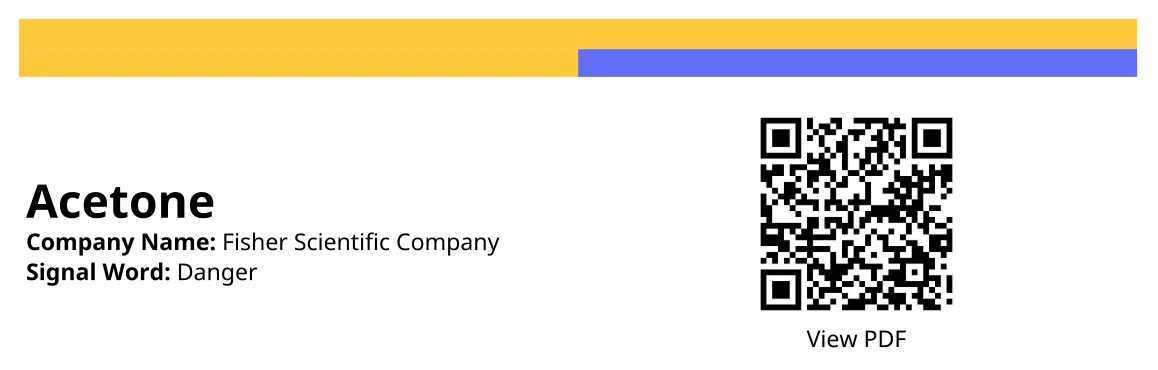
When you pour a chemical into a smaller container, that container needs a label too. Click the Print Label icon on an SDS to make a label with the product name, pictograms, hazard and precautionary statements, and a QR code that opens the SDS.
Read more: How to create secondary container labels for hazardous chemicals
Step 6: Print SDS binders if you want paper copies (optional)
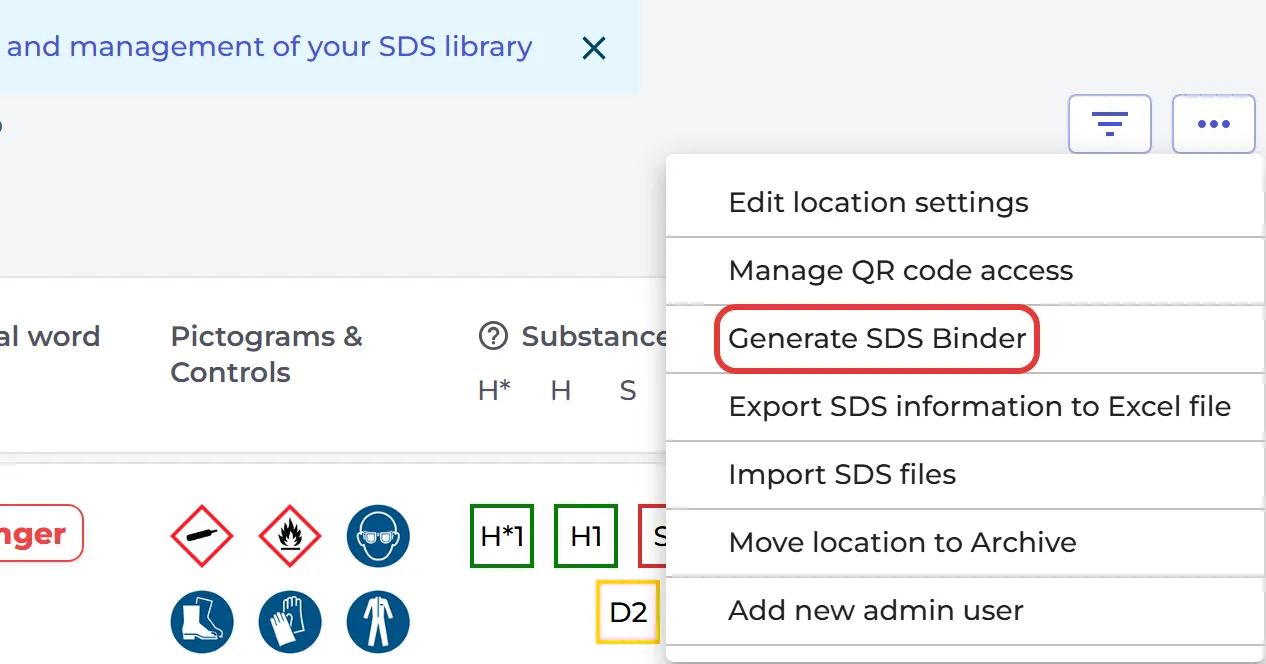
Open SDS Admin, choose the location, click the … button at the top right and select Generate SDS Binder. You get one PDF file with all the SDSs on that location, ready to print.
Read more: Get offline access to your SDSs: print an SDS binder
Step 7: Keep your SDS library up to date with new revisions
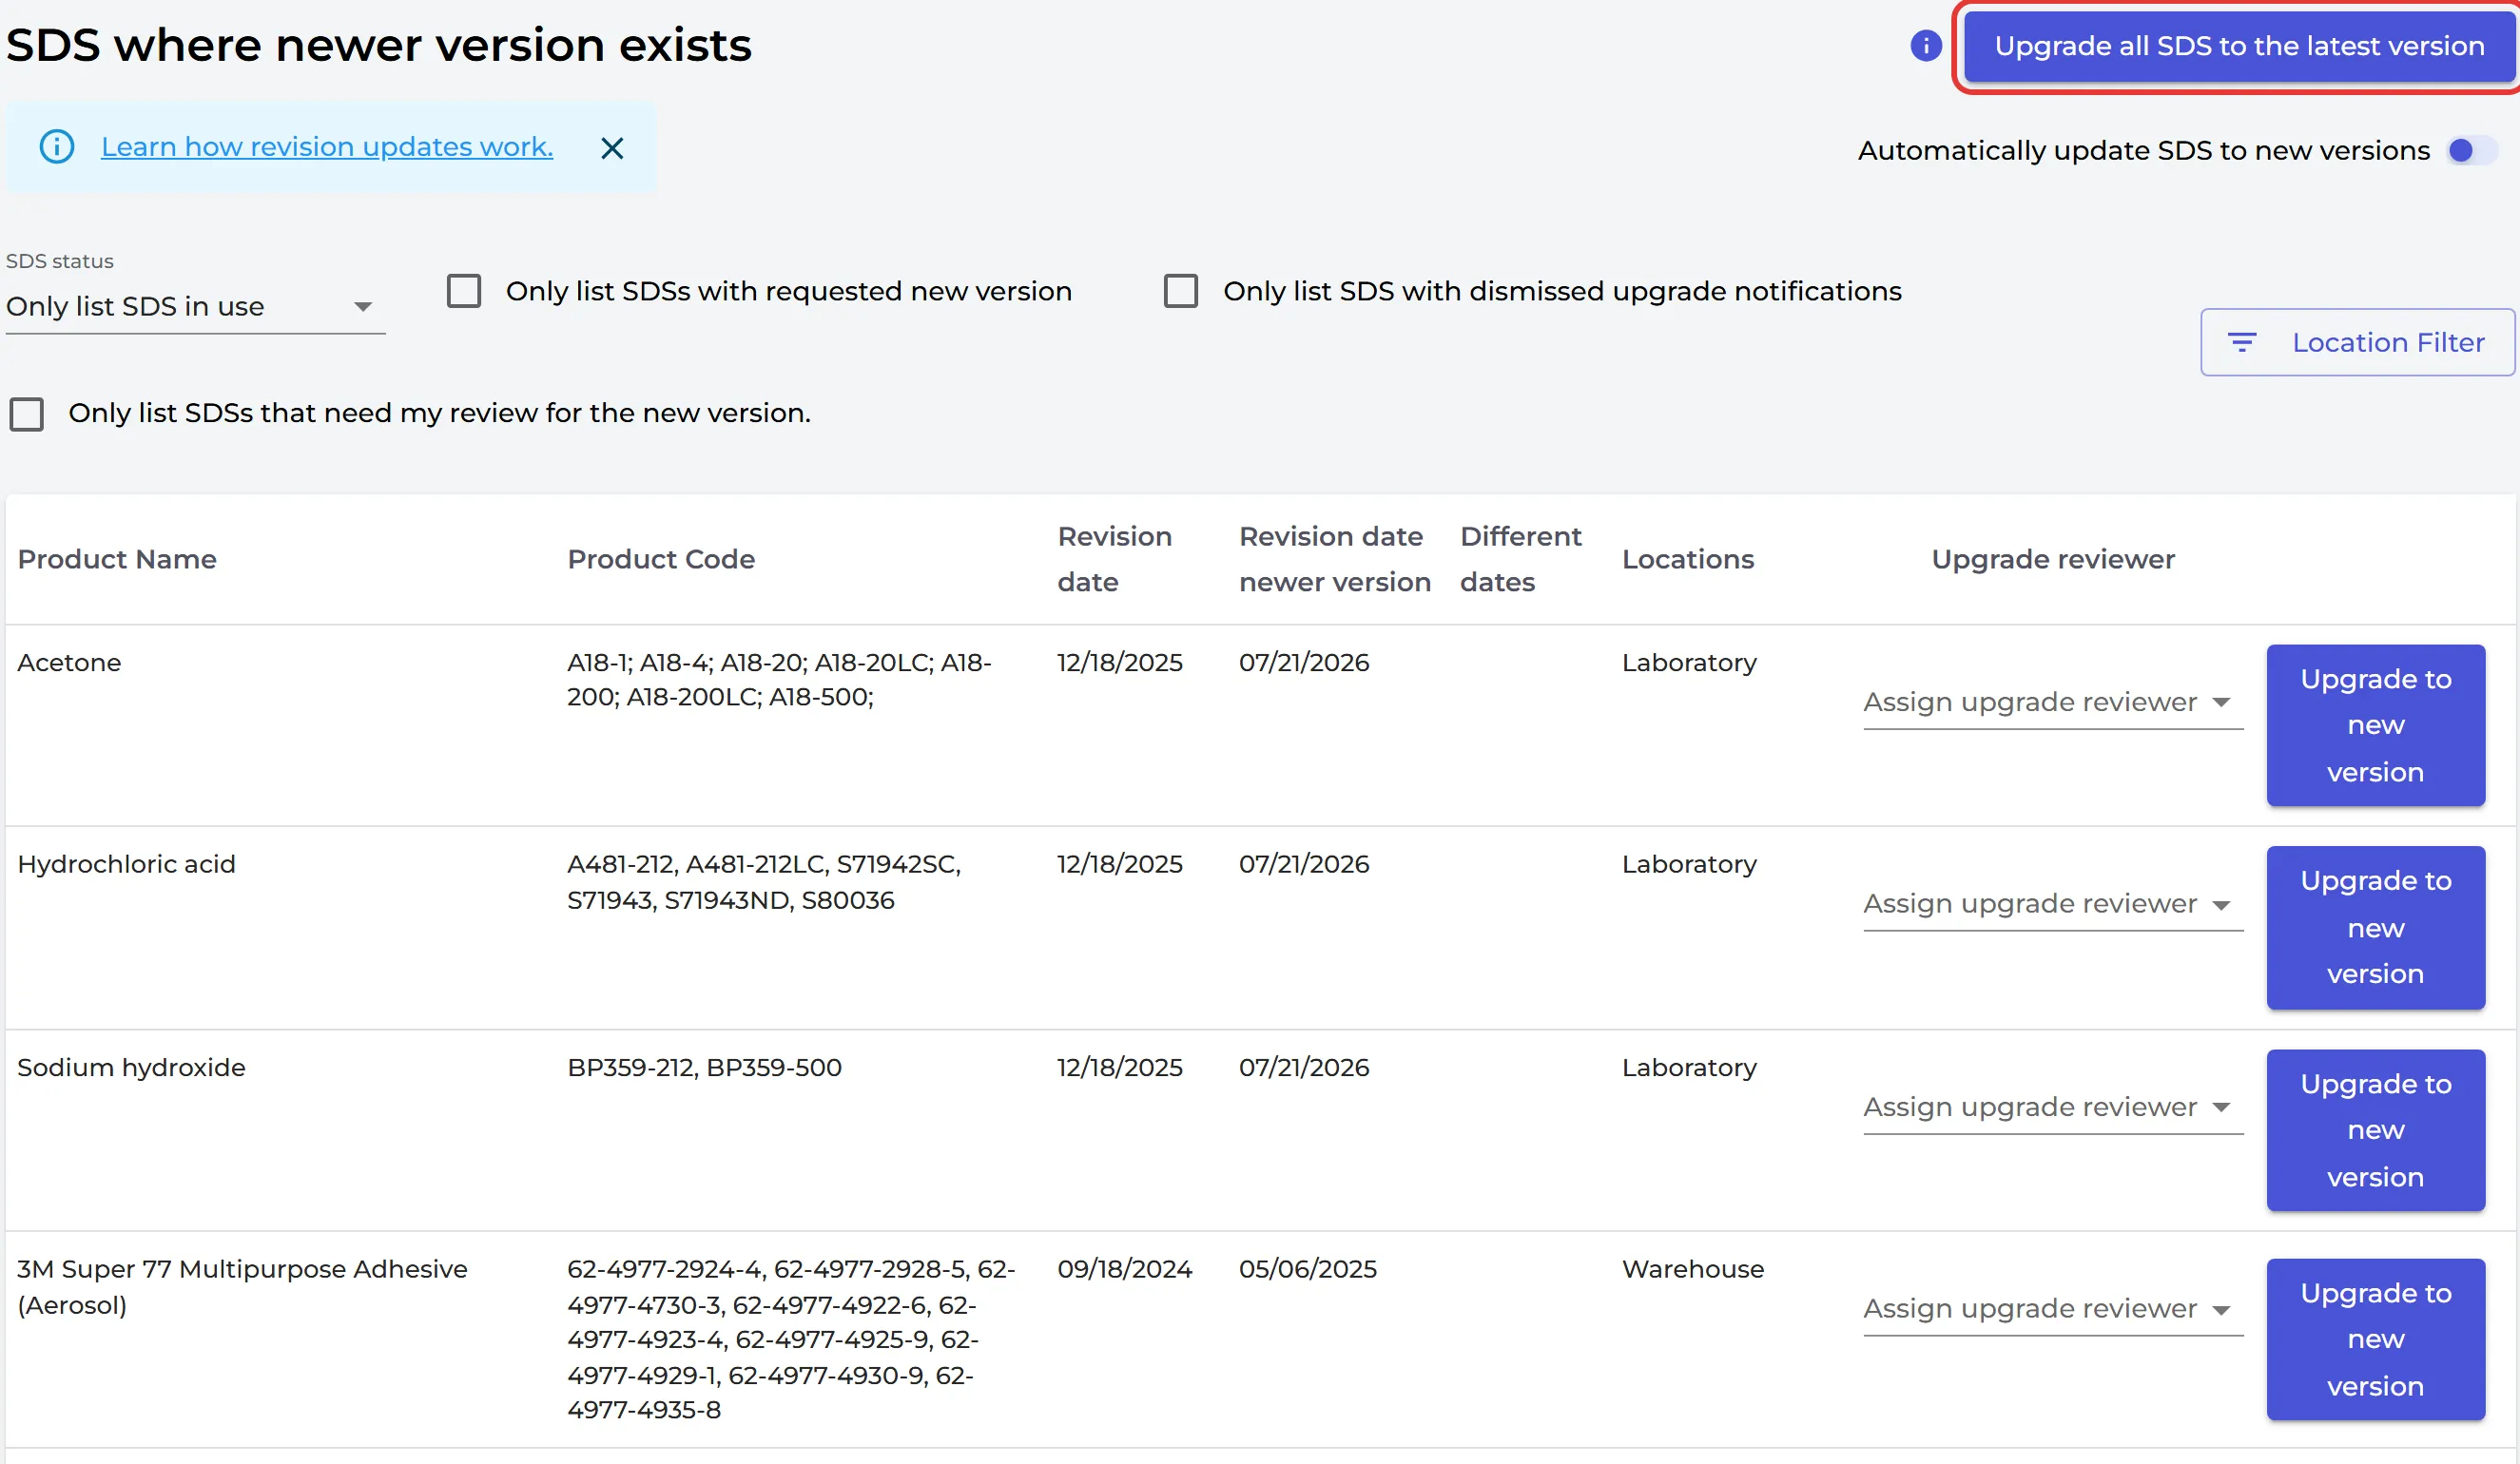
Suppliers issue a new revision of an SDS every one to three years, and you must use the latest one. SDS Manager checks supplier websites for new revisions. The number on Updates in the left menu shows how many SDSs in your library have a newer version.
Click Updates to see them. Use Upgrade to new version on one SDS, or Upgrade all SDS to the latest version. To let SDS Manager do it for you, switch on Automatically update SDS to new versions.
Read more: Manage SDS Updates: upgrade SDSs to the latest version and How does the revision update work?
More you can do
Ready to go live?
Before you tell your employees about the SDS library, go through the Go-live checklist.